Wednesday, February 25, 2015

DIY Sporty & Trendy Bikini Top

HERE WE GO!! This is pt.2 to revamping those old bikinis in your drawer. Yesterday, I showed you  how to make regular old bottoms into cute, dare I say sexy bikini bottoms (scrunchy butt bikini).   Today , I'll be showing you how to turn that triangle bikini top into something a bit more modern with a twist. If you're anything like me you want a new swimsuit for every occasion, well THIS is how you do it with out dropping those big bucks.


Supplies you'll need:
Triangle Bikini Top
Scissors
Thick Needle
Thick Thread


Here are the supplies I used, I really loved the way the dental floss held together. A word of caution if you use thread make sure its super super THICK!
 
 
First, cut the strings (ties) that go around your neck... both sides.
Next take that section where you cut off the straps and cut about a 1in- 2in slit in the middle. The longer you make the slit the easier it is to do the next next step... just don't go crazy. Repeat this step to the other side.


Join those two ends together. What used to be your neck tops are now going to be the center of your bikini top!                    (MIND BLOWN)
SO here is where the explaining gets tricky; interlock those slits. Join the two ends from the same piece, so it forms a circle (hole) , sew those two together knot and re thread if needed. Take the other pieces from the other side of the top and put in inside of the circle (hole) sew both of those ends together (think of a chain) make sure you knot. 
TA-DAAA! Now take a step back and admire your awesome NEW bikini top.

 If you still need some extra help making your top this video really helped (here) or ask me questions, leave a comment I would love to hear from you! Well I hope you are now on your way to sporting an old NEW bikini that YOU transformed. Congratulations!!

Revamp your Bikini: Scrunchy Bottoms


I have been on the hunt for a new bikini, especially living in Southern California there is always time for the beach. I've found so many cute swimsuits only to be taken a back by the $80 price tags A PIECE!! Well I took it upon myself (and Pinterest) to find a way to revamp what I already had and I am super excited about this one. I have been walking around in my bikini all morning because I LOVED the way this came out. It was relatively easy and you do NOT have to be a great seamstress to do this DIY. So lets start off with bikini bottoms:


Supplies needed:
Bikini bottoms that are a bit too large
Needle
Same color thread (or Dental Floss)
Marker
Ruler

I used old bikini bottoms that were just a bit too big, this process does make the bottoms smaller so be careful!


I did this tutorial originally with same colored thread but I ended up re-doing it with dental floss. Yes, it does show through as white but it held up much better than the thread.SO if you are using thread please make sure it's THICK!


Take your ends and fold the bottoms in half.

Make sure they're pretty even so you can find the center of your bottoms. Take your ruler and with your marker draw a line down the center.


Now that you have your center line you can thread your needle ( make sure you double up and triple knot the end of the thread). Take your needle and start from the very top, where the tag is. You want to sew a simple stitch from top to bottom. I've found the lower you go the more it accentuates your bum.
It should start looking like this except probably not a crooked.


Once you get to the very end of your line pull the string taught, make sure it isn't too scrunchy or it won't fit (I know from experience) and knot the end. Also, this is when I learned floss worked better because its stronger and stretchier and wont break.


And there you have it, a perfectly scrunched bikini bottom!! I really hope I inspired you to give it a try, believe me I will be scrunching all of my old bottoms ASAP. Stop by soon for part two of revamping your bikini I'll be teaching you how to turn your boring triangle tops into something new!

Wednesday, February 18, 2015

Prayer, Meditation, or just Painted Rocks

 As promised I am here with a NEW POST and yes, its a DIY!! This is a super simple DIY but it was actually the only DIY that actually worked out today. I tried learning how to do a Blind Hem on my interview pants (which I'll be using tomorrow! Woo!) but that was a total fail; I'm talking two completely different pant leg disasters. My next attempt was to make a very handy ukulele strap made from awesome Star Wars fabric and that ended up falling apart. Needless to say I had to dumb it down a little bit and I stuck to what I knew... rock painting. I know what you're thinking, wow that's hard. I actually surfed the web and found some nifty ideas and great tips! I was really happy with my final product and I can't wait to find a place for them!


Things you will need:

  • Rocks (preferably smooth and all sizes)
  • Acrylic Paint ( I used Martha Stewart for all surfaces)
  • A thin brush ( I used an old felt liquid eyeliner empty tube)
  • Newspaper (or anything to cover your counter or work area)
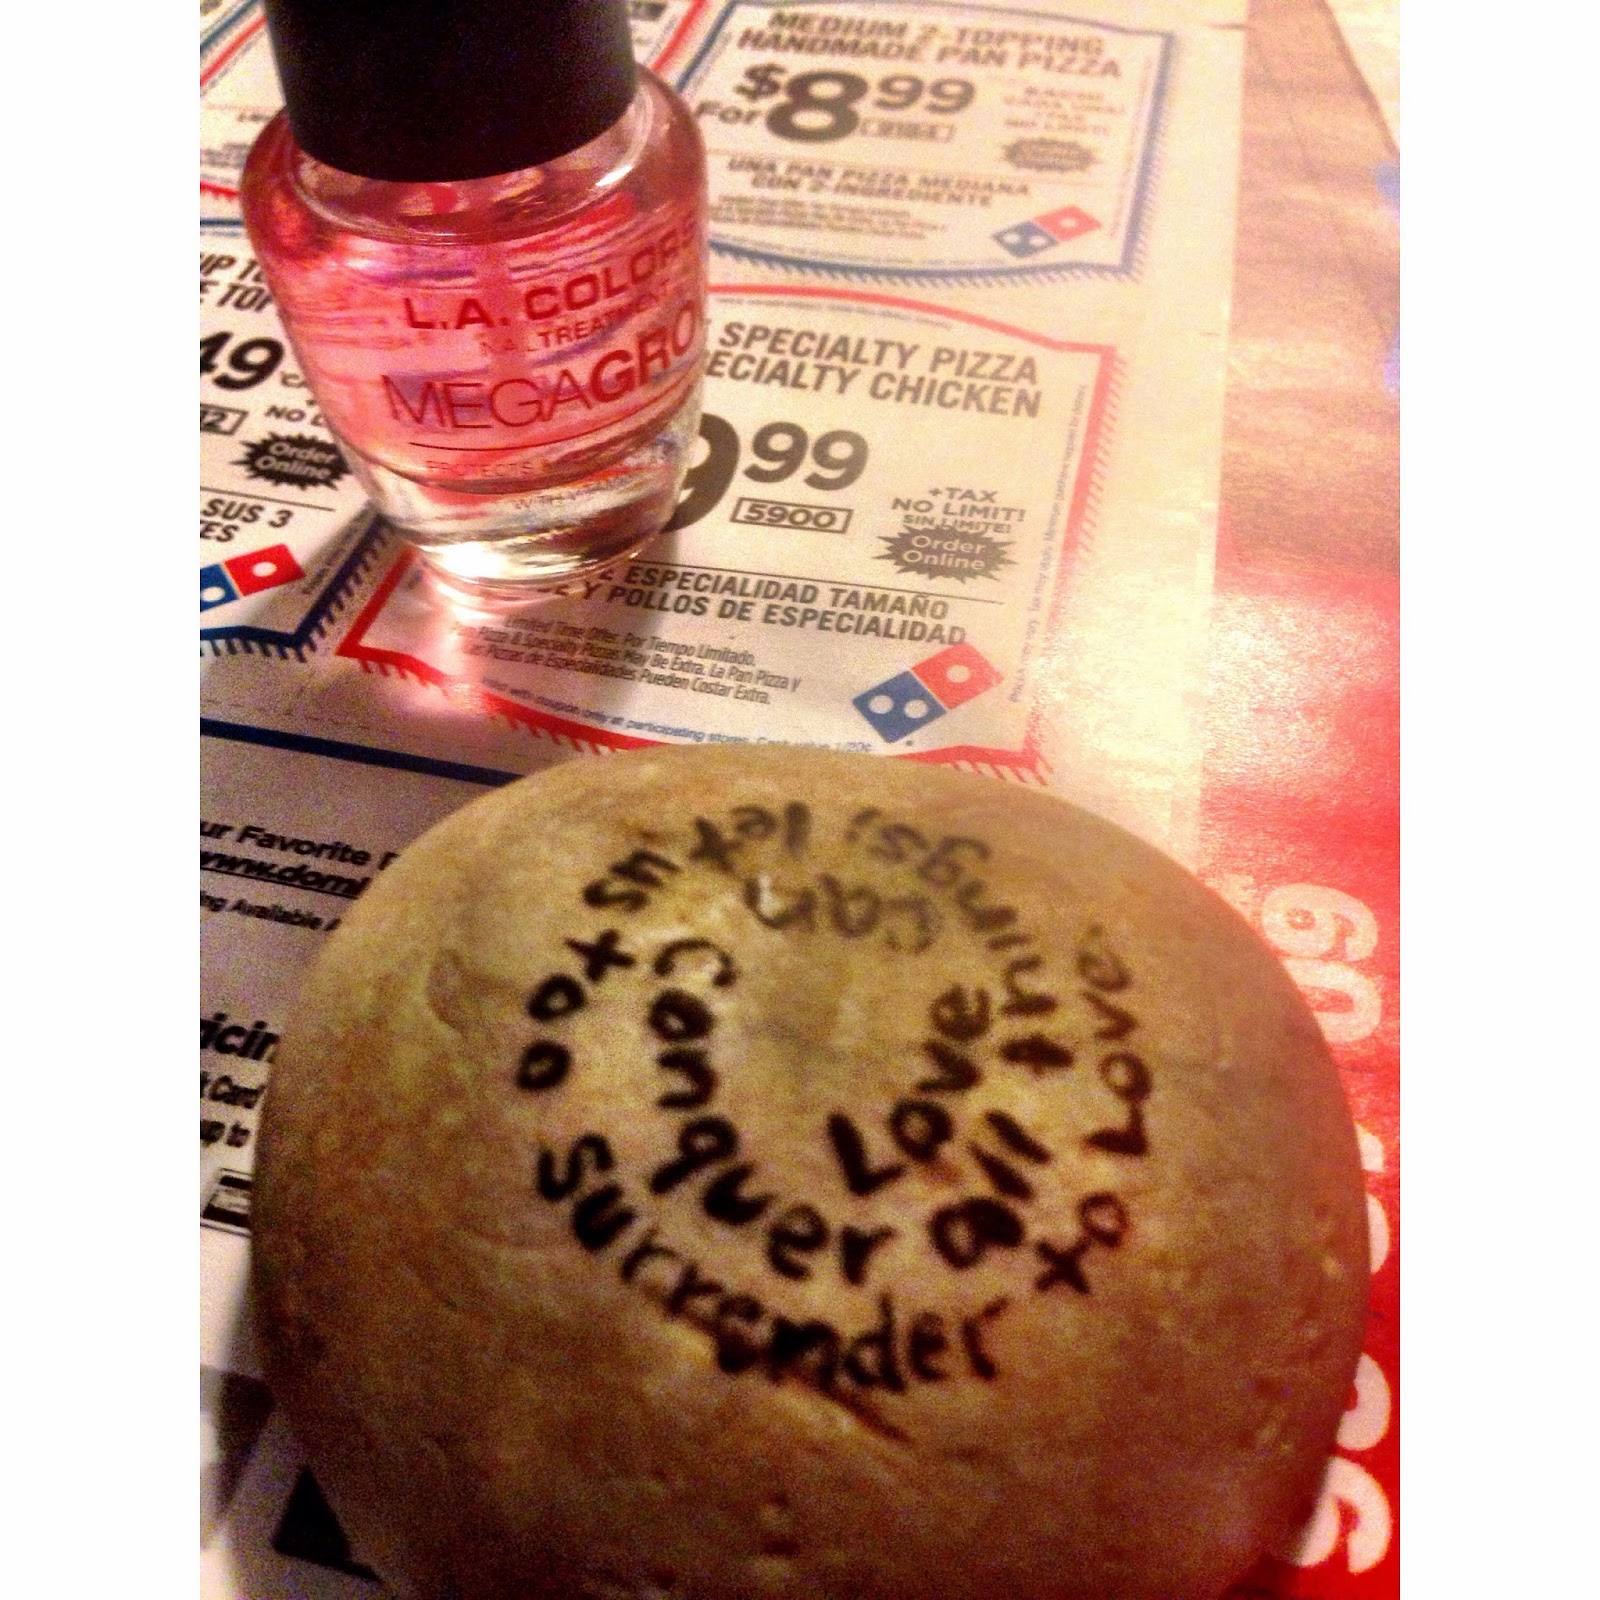
  • Clear Nail polish (This is to give your rocks a glossy finish) 
  • Quotes/Designs you'd like to put on the rocks
We picked up some rocks from a the beach a while ago they've been waiting to be used!

Here is my nifty old MAC eyeliner tube which worked perfectly because of its super fine tip!

This is the paint I used and this was my first attempt which wasn't my favorite.

After you do all of your designing and doodling make sure your rock is completely dry and smother it with nail polish!!

The left one is with nail-polish and right one is without, I guess it's a preference on how you want your rock to look.

And here is my end result, I'm thinking of sticking them on my front porch after I am done glossing them.


 Some quotes I used:

From the moment a soul has the grace to seek God; she must seek. - Mother Theresa

So I love you because the entire universe conspired to help me find you. -Paulo Choelo

Love can conquer all things; let us too surrender to love. -Unknown

Do not think that love, in order to be genuine, has to be extraordinary. -Mother Theresa

Don't be delicate, be vast and brilliant -Unkown

If we pray, we will believe;if we believe, we will love; if we love we will serve. -Mother Theresa

& Chris' favorite... Rock on ( pun intended).


Hope you enjoyed, can't wait to hear from you.


Can I have your Attention Please?

 Let me start off by saying how EXCITED I am to start this blog. I really love writing and connecting with people so what better way than to start a blog!! I'm hoping to do a series of post every week consisting of DIY's and other projects I take on. First, let me introduce myself.... My name is Karol, I'm 24 years old, recently married to the love of my life Chris. I have a beautiful almost 1year old  Olde English bulldog, Lola. I love to read, write, craft and sing (YES! I have a YouTube channel http://youtu.be/AwxAuIKGei8 ). I am also currently on the hunt for a job, OK and who am I kidding the meaning of life.I definitely fall in the category of an over thinker, I tend to over analyze and I have the curiosity of a 5 year old. With all of that being said, I hope you follow me on my new journey and I cannot wait to hear from you, please, please, please post any suggestions, ideas, comments, I am all ears.
Lola

Chris & I